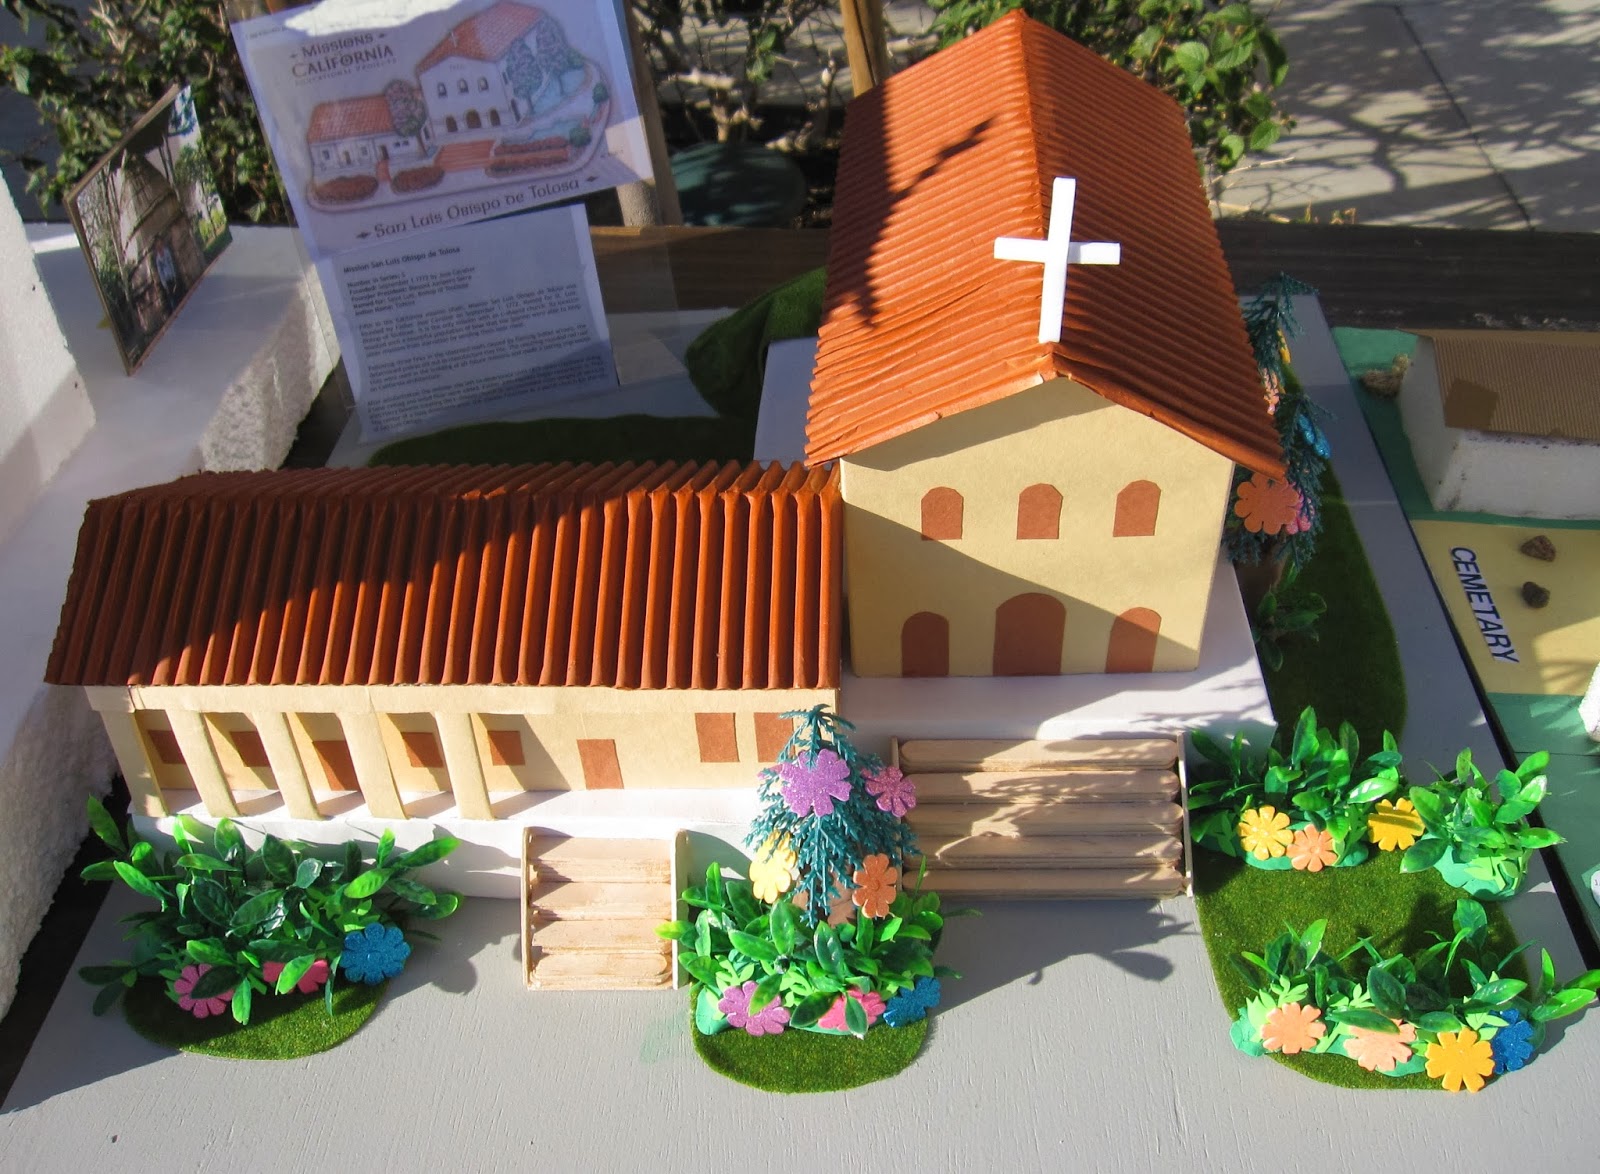
This is a post about creating the most unique California Missions using items that you may have already in your home. There is no need to buy a pre-designed Mission from the store that may be costly. This article will show you how to make an elaborate Mission (as shown),
or a Mission that is entirely created using a piece of cardboard, construction paper, paint and plants from the garden. See Mission below.
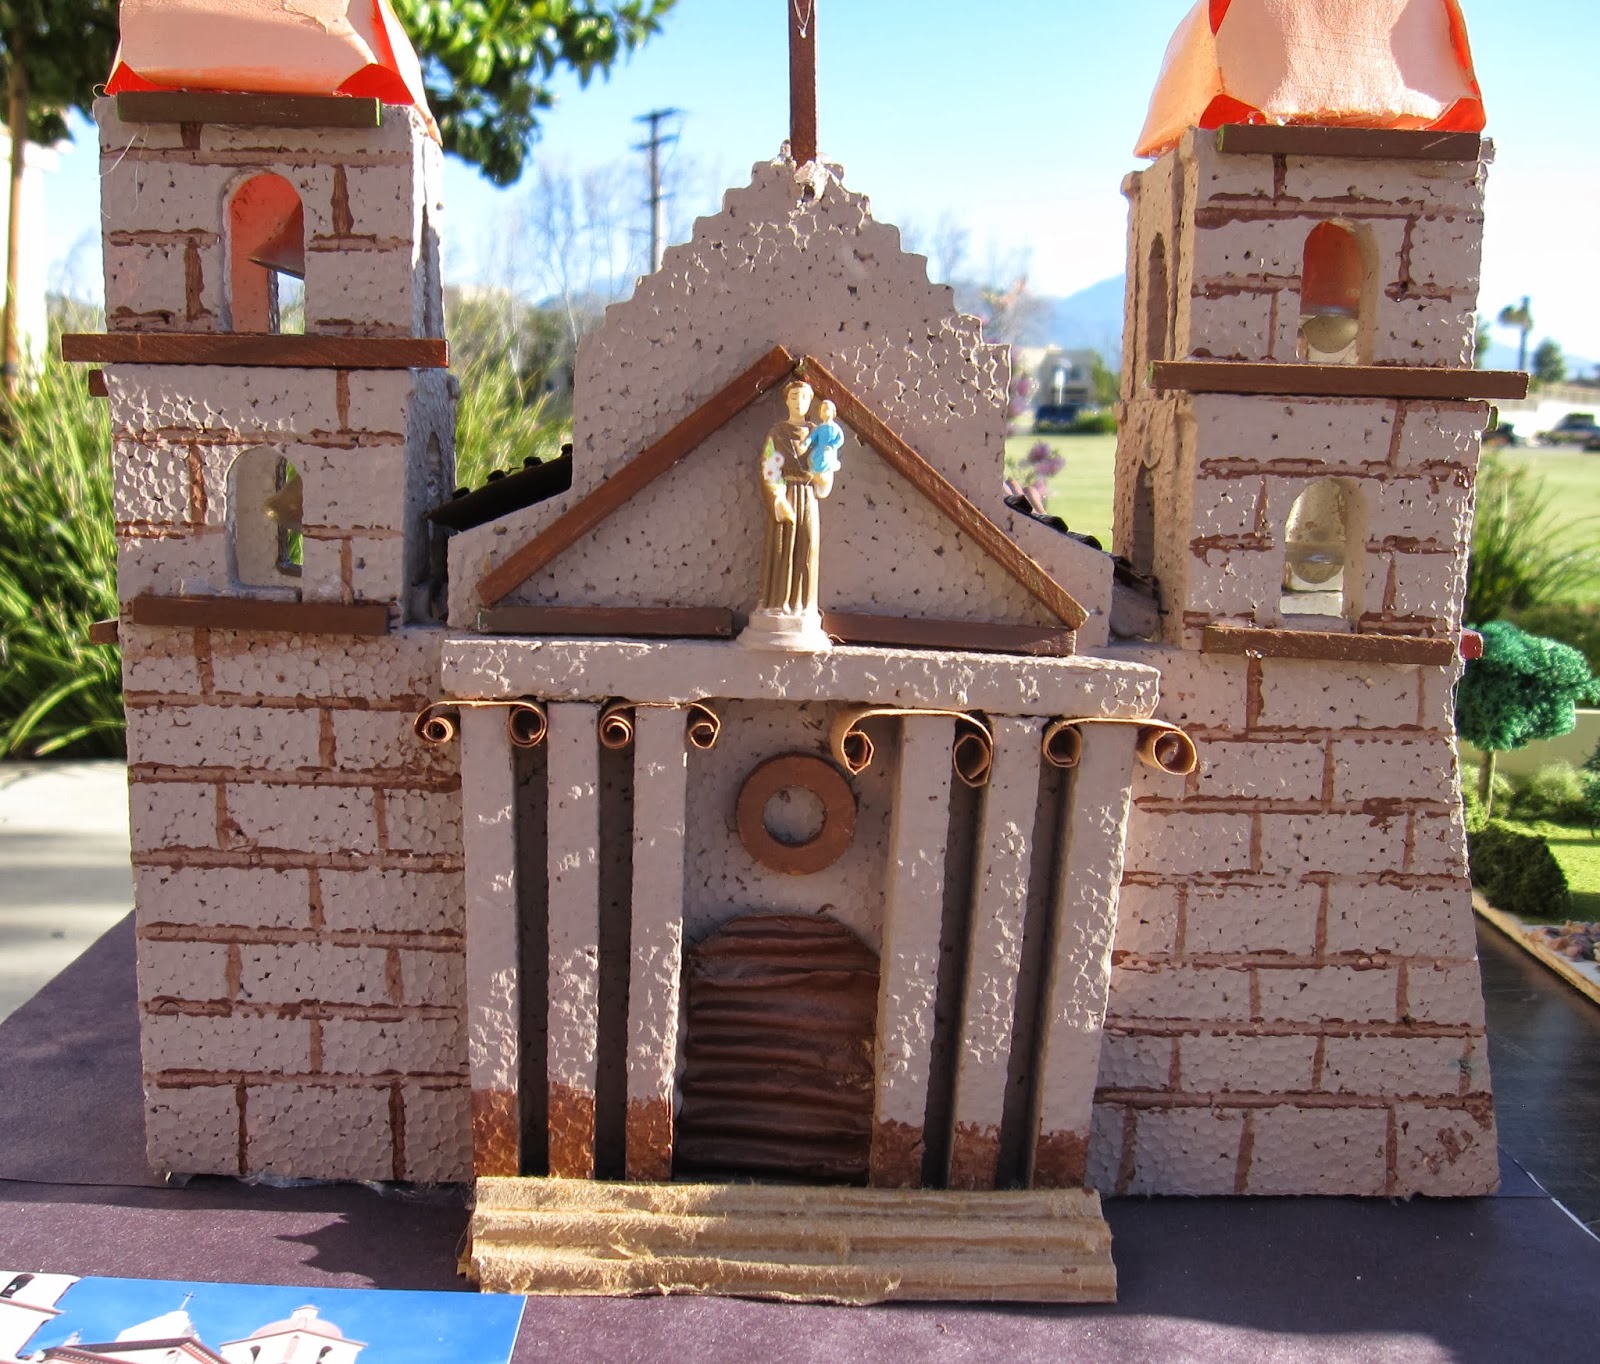
Styrofoam is another useful material. I this case the student cut styrofoam and then painted several coats on it. They used thick paper (or cardboard) to make the curls at the top of the pylons, cardboard stairs, cardboard door and a store bought statue. If you do cut stryofoam an adult should be present as stryofoam cuts really easy and the cutting tool could slip.
The Mission here has the store bought roof, bells, plants and statues. The top of the bell tower was carved from styrofoam. The San Carlos de Borromeo de Carmel Mission below is another example of the use of construction paper, wood, some cardboard and items found around the house. A simple Mission that reflects a unique appearance of the aged Mission.
Display a photo of the Mission next to your finished masterpiece helps to appreciate all of the work that went into the project to make the Mission appear realistic. Some students post a picture of themsleves in front of the Mission to show they have visited the Mission and have a true knowledge of the construction that went into building the mission back in 1772. Even if you are unable to travel to the Mission you have been assigned, a Mission in your area usually has a Gift Shop that will have information about your Mission.
Another thing to thing about is the board that you will be using to create your mission on. The board itself should be sturdy enough to carry the final Mission out of your home and into the car, and then into the classroom - without dislodging itself or buckeling. Most of the Missions, I have seen are on the durable display foam board that can be bought at Michael's Craft Stores. The Mission (below), is set on a wood constructed table that is beautifully displayed. I love the use of the same burnt orange brown paint on both the wood table and on the roof of the Mission.
The gardens of the Missions can be created both elaborately like the one below, using store bought flowers and fountains, or simply like the Mission of San Juan
shown here, using items from around the house. The fence from a game, the blue stones from a candle display, trees from another project. But still the grounds look great even when they are displayed simply.
Or when a bunch of different items are used in unison to create a garden. Even when the products are out of proportation from each other.
What about the Missions that use unique products in their creation. I have on a previous post discussed the use of several cake mixes to create a cake mix Mission. I have also discussed the use of pasta (lasagne noodles) to create a roof.
 The student painted the noodles before applying them onto the roof (here). But I have seen the noodles applied first and then painted. Whichever works best. The roof that is pictured here, the noodles apppear to have been spray painted for a more even appearance.
Another unique way to add texture to a roof, is using gum. This student took sticks of a pink colored gum and cut them into square looking pieces. Then glued them onto the roof. I would use a glue gun to keep them in place longer.


Another Mission that was so creative was a Mission made from Legos! That is right Legos! I have a picture of the prayer room inside the Mission, but not one of the exterior for some reason. The  Mission had an outside garden with animals from the Lego collection. Really cute. A project like this would have taken awhile to complete, so allow enough time. Plus the person would have to have alot of Legos to complete this project in the first place. Legos does not have a Mission kit (as of yet). but you can google Missions made from Legos and several appear which can easily be adopted to the Mission you want. Clever idea, which could be started on holiday break.
 Mission had an outside garden with animals from the Lego collection. Really cute. A project like this would have taken awhile to complete, so allow enough time. Plus the person would have to have alot of Legos to complete this project in the first place. Legos does not have a Mission kit (as of yet). but you can google Missions made from Legos and several appear which can easily be adopted to the Mission you want. Clever idea, which could be started on holiday break.
But, sometimes the simplest of the Missions make some of the best representations. Here the student made a realistic version of the Mission in San Diego using cardboard, plaster, rocks and gravel from the yard, juniper bushes, modeling clay and a set of store bought Mission bells.


4 comments:
Do you know where you can find blue prints or plans to cut the mission out? We're not allowed to use kits and I'm having a hard time figuring out how to cut it out
This site is aaawwwsome!!!!!
We can't use kits either because it holds get weight to you grade because of creativity
We can't use kits either because it holds get weight to you grade because of creativity
Post a Comment